Full Wave Marine is the exclusive Australian Distributor for the Full Wave Audio System from PWC Industries designed for Personal Watercraft, Boats, All Terrain Vehicles and motorcycles.
World Class Audio
Click here to BUY NOW at our on-line store
Here are some pictures showing a typical installation for the Amplifier and switches.
This is just for reference, as you can locate them anywhere you wish.
Instructions are also included in each kit.
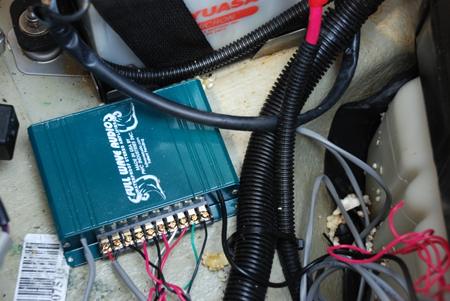
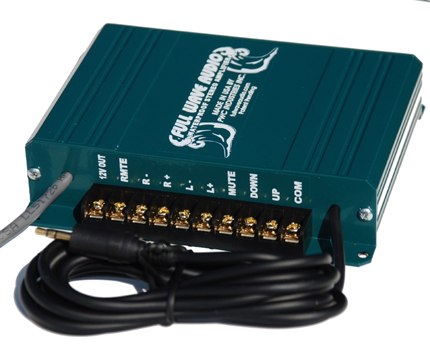
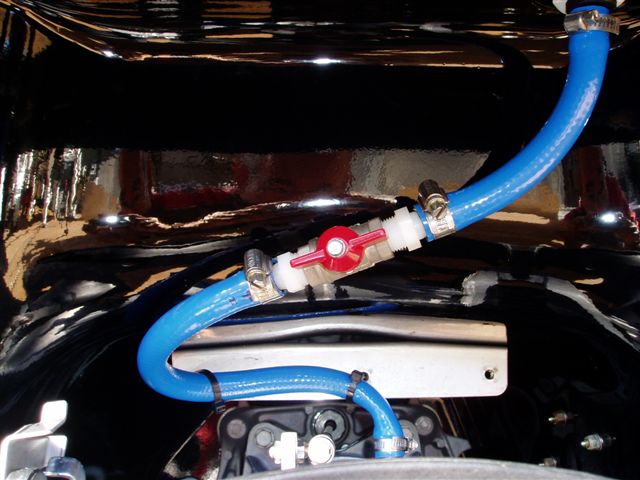
A look at the Amplifier which we located under the front storage compartment.
Notice we didn't screw it down, we used silicone as an adhesive to hold it in place. Stainless steel screws are provided however, this is a great method for PWC's.
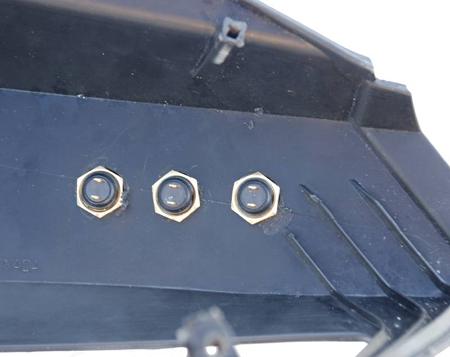
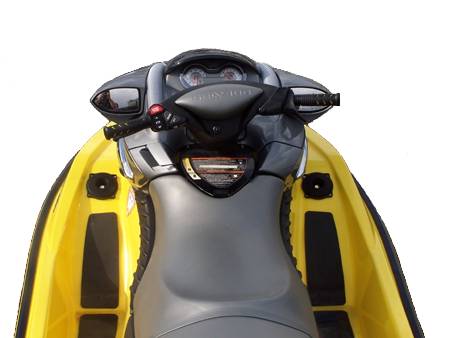
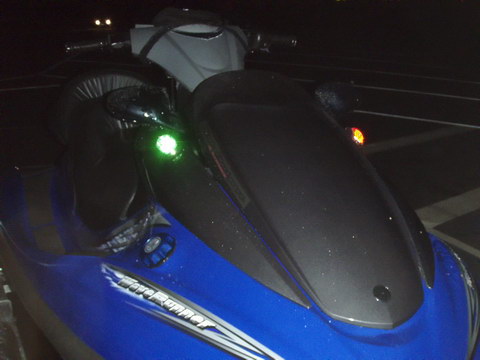
We like to be able to control the Volume and Mute features from the handle bar shroud, so we mounted the switches on the shroud as shown here:
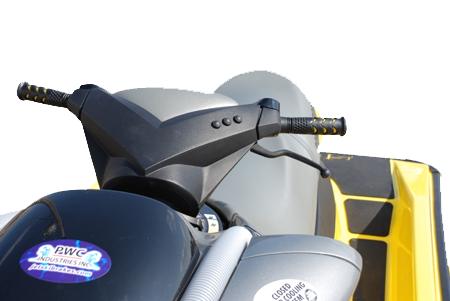
First, we removed the shroud and drilled three 1/2" holes. We only wanted
Volume Up / Down & Mute on the handle bar. We put the Power button inside the glove box so it can easily be turned on when the ski is parked.
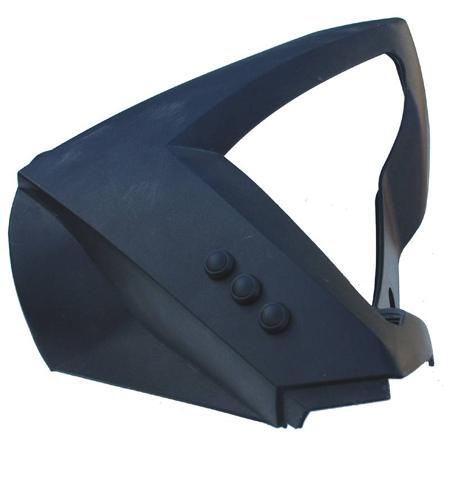
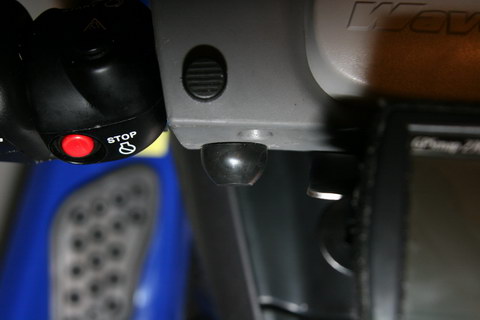
Here's a look at the underside of the shroud:
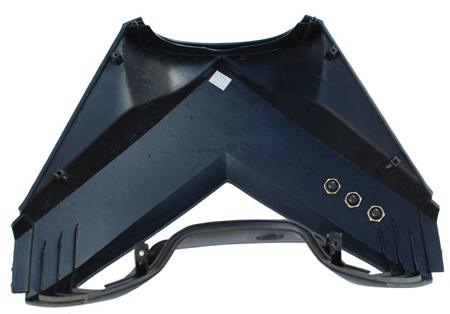
And here's a close up view:
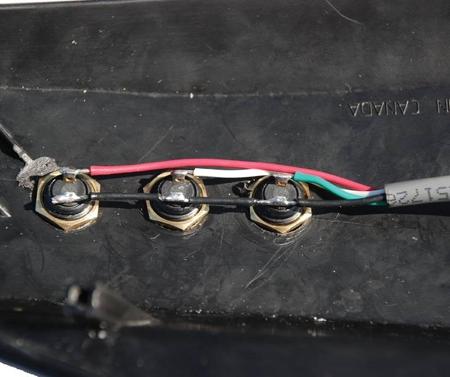
Finally, here's how the switches looked soldered. *Please Note: the switchesmust be soldered, it is the only proper way to ensure a good connection.
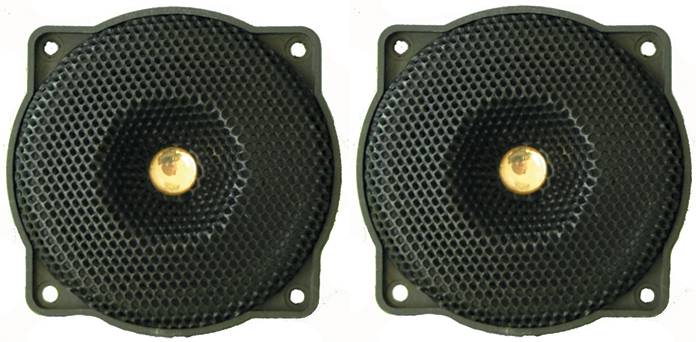
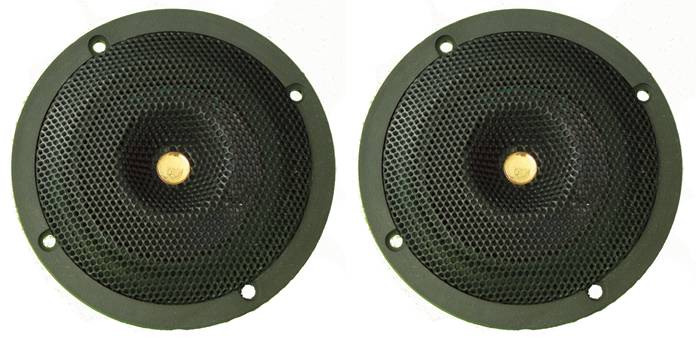
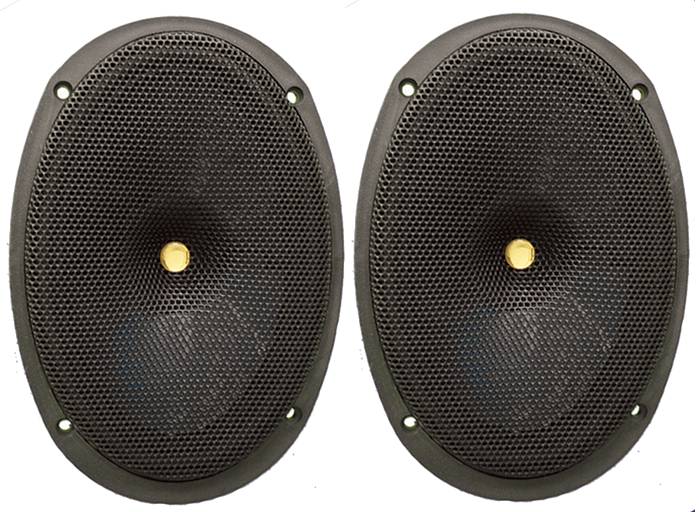
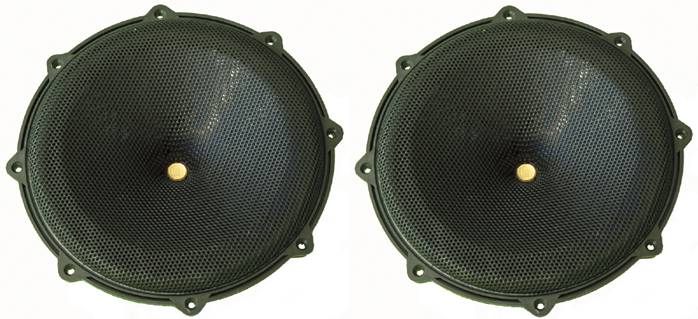
Using a 4" hole saw, drill a hole for each speaker. Ensure proper allignment and drill pilot holes at each screw location. Run a bead of clear or black
silicone to the inner lip of each speaker and secure with screws provided.
Run the 3.5 mm cable to your glove box and plug into your MP3 player. Attach all wires for the switches and the speakers to the Amplifier and secure
all wires with the zip ties provided. Finally, connect the Amplifier power leads to your battery using the Red wire for (+) and Black for (-). Power up your MP3 player and turn its volume up to maximum. (it will not drain any extra
power set on max volume) Power up your Amp and you will be rockin!!!
*Please take time to read, understand and follow the instructions prior to
installation. It's very helpful to apply masking tape to the surface you intend
on mounting to and carefully mark the locations so they appear even. If you
don't feel comfortable installing the system yourself, you should seek
assistance from a qualified person or Dealer.
|

 .
.

